Related
Using a Map Region for Printing
All Reinsurance Years
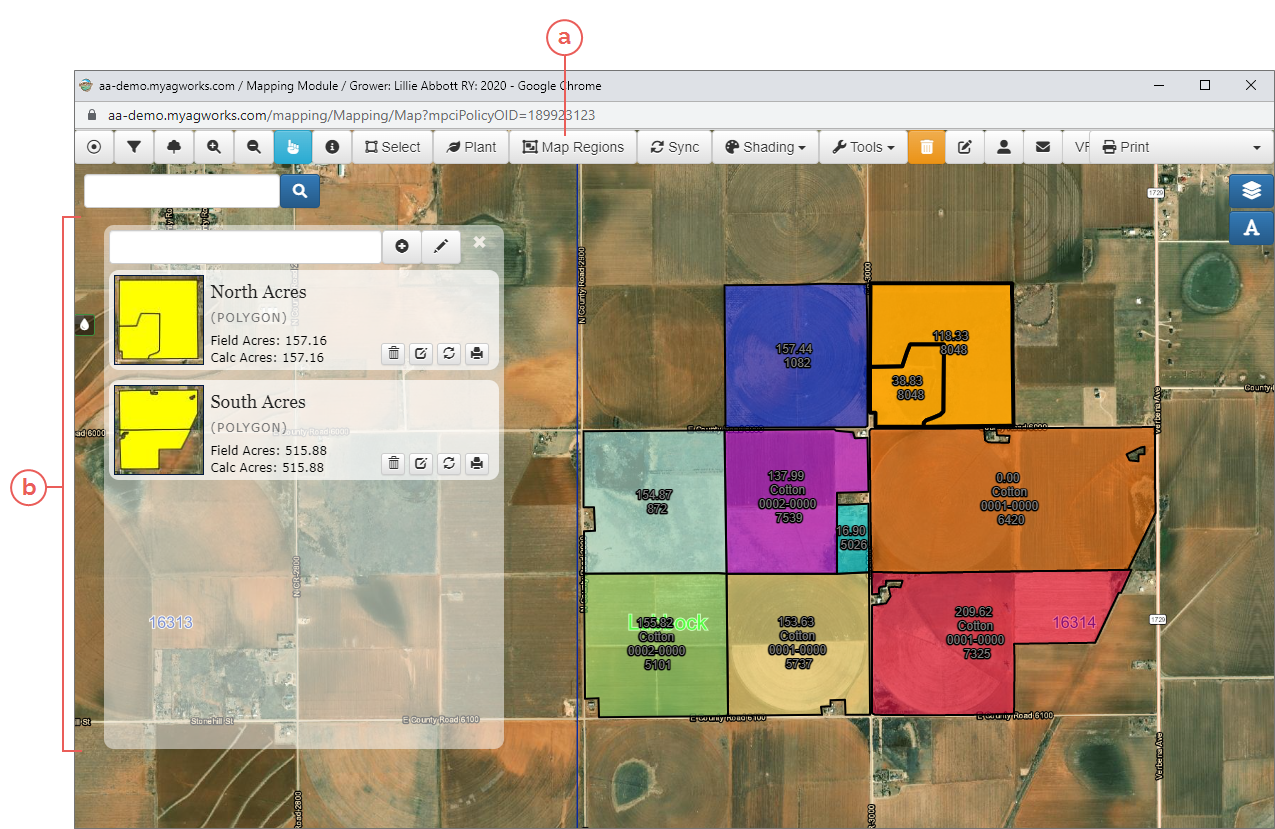
The Mapping module allows users to group fields into map regions for easy printing and module navigation. The map regions are labeled by name and display with a thumbnail of the fields and the both the Planted Acres and CLU/Calc Acres now included in the region.
There are two ways to create map regions within the Mapping Module:
The Draw a Map Region tool allows a user to draw a rectangle boundary around the fields to include in the map region for quick selection.
| 1. | Click Map Regions. The Map Regions panel opens. If no map regions have been created, this displays as blank; if map regions have been created for the policy, they are shown in the panel. |
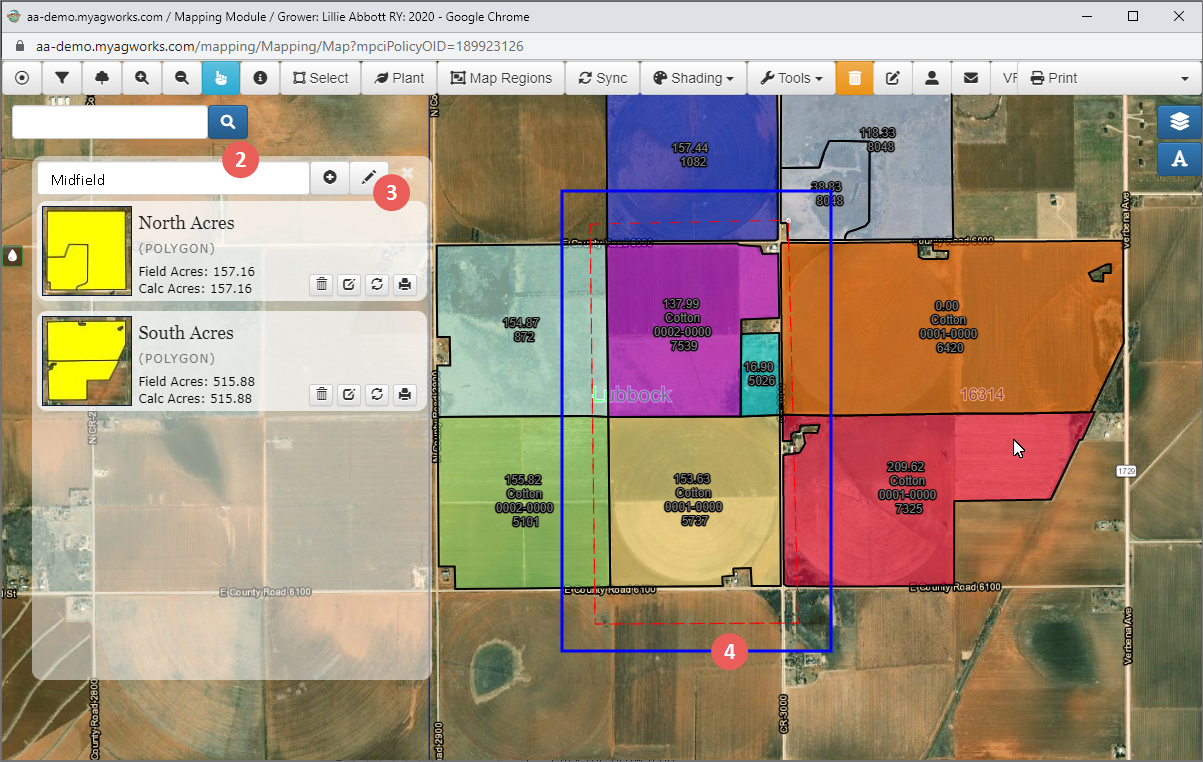
| 2. | The Map Regions panel, type the name of the map region you are adding. |
| 3. | Click the draw icon. |
| 4. | With the cursor, click to create point around the fields to include in the map region. You can create as many points as you need; to close the shape, you will need to select the first point in the shape. The System selects the fields and adds the new map region to the map region panel. [Polygon] is shown under the map region name to indicate that the region was selected via drawing. |
| 1. | Click Map Regions. The Map Regions panel opens. If no map regions have been created, this displays as blank; if map regions have been created for the policy, they are shown in the panel. |
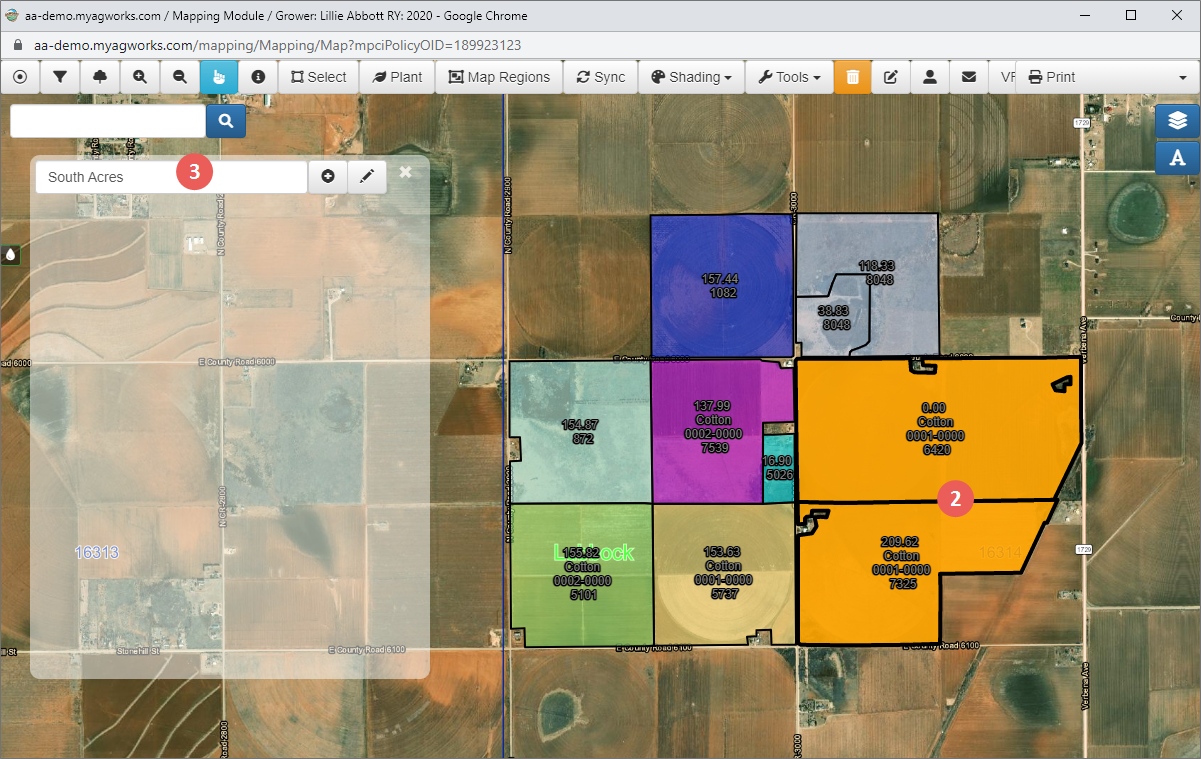
| 2. | In the Mapping window, hold down SHIFT and select the fields you want to include in the map region. The selected fields turn solid orange. |
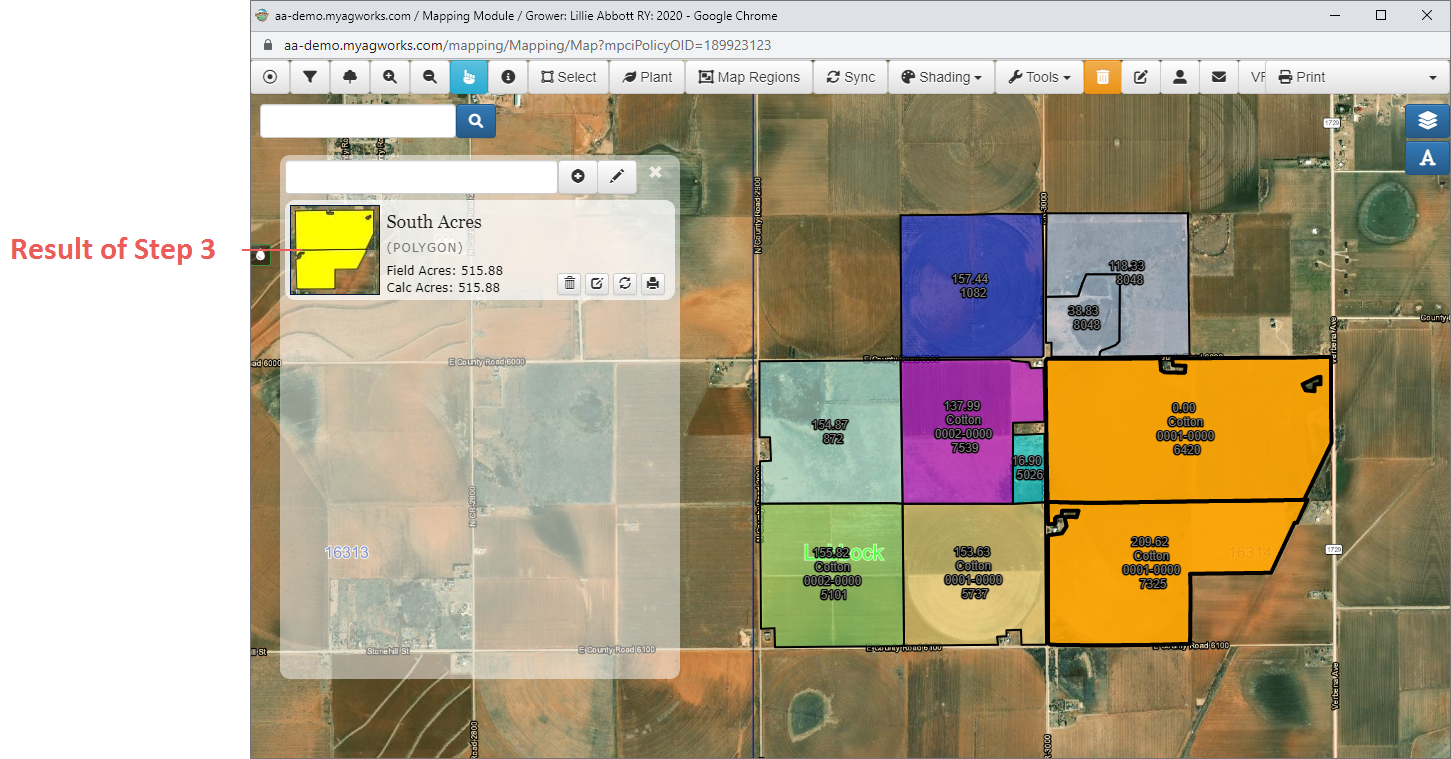
| 3. | In the Map Regions panel, in the text field, type a name you want to assign to the map region and then click +. |
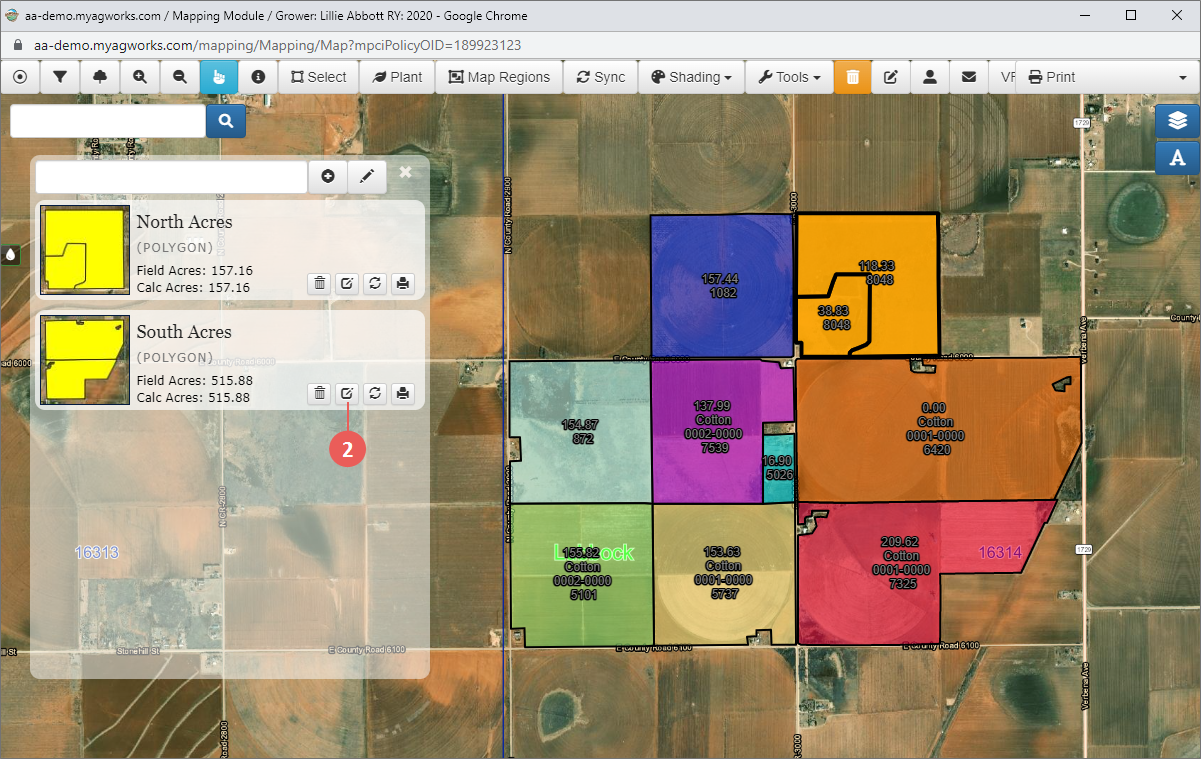
NOTE: You can edit the name of a Map Region at any time by clicking the edit button that corresponds with the region.
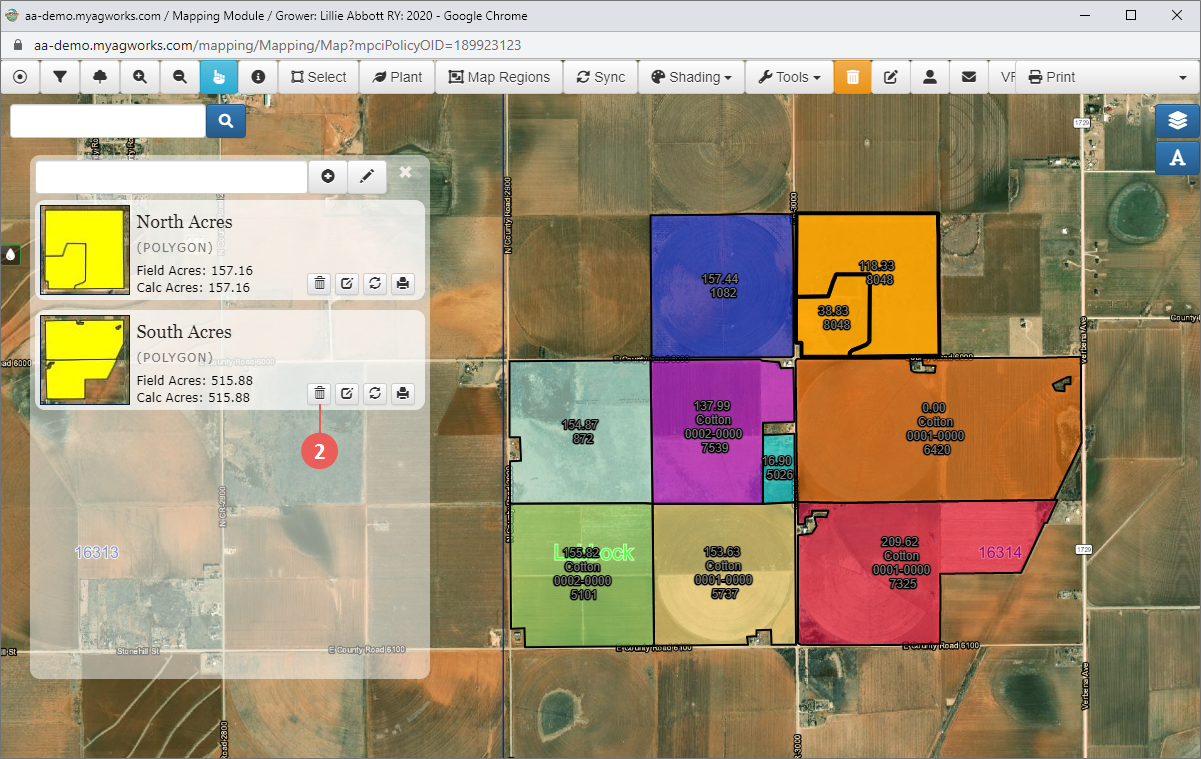
| The System adds the new map region to the list shown below the text field. The Planted Acres and CLU/Calc Acres for all fields included in the map region are displayed, as well as buttons for removing, refreshing, and printing the map region. |
To customize the order in which map regions print, you can drag and drop existing map regions into the desired printing order, where the top map region prints first and the bottom map region prints last.
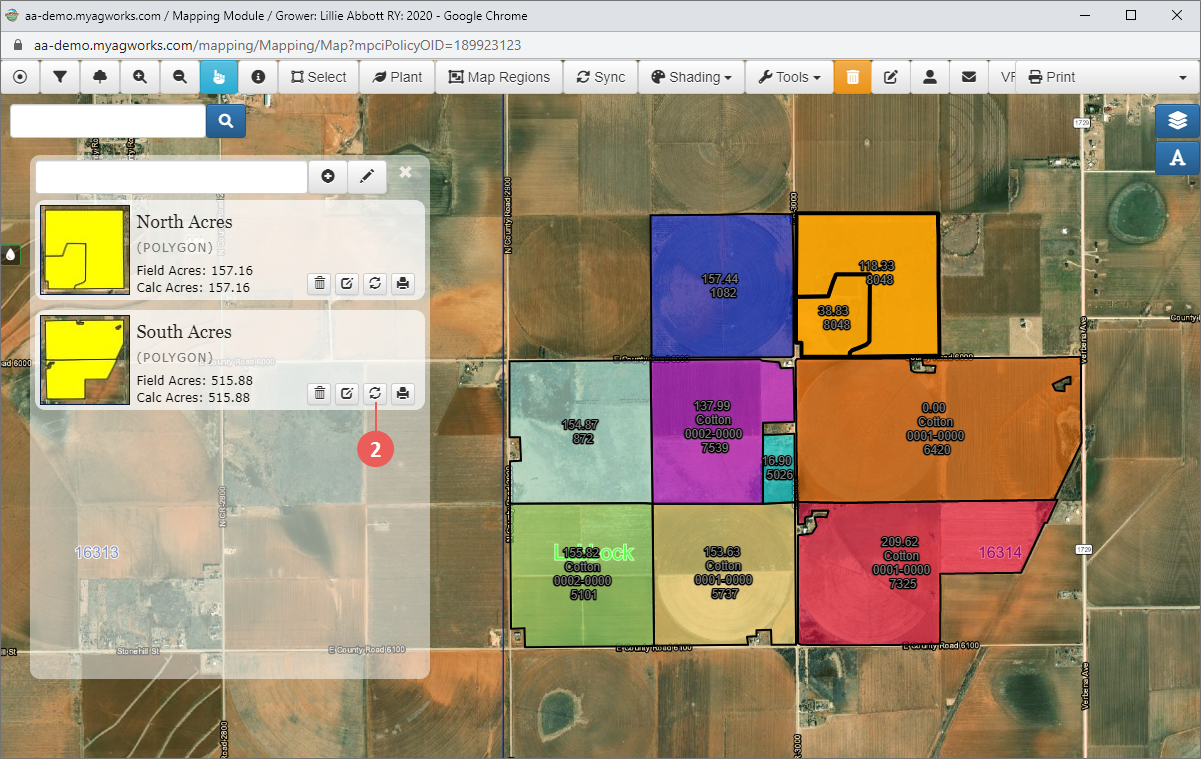
The Refresh button re-creates a map region based on fields included in the region so as to include any changes made.
| 1. | Click Map Regions. The Map Regions panel opens and displays existing map regions. |
| 2. | For the map region you want to refresh, click the corresponding refresh ( ) button. The System refreshes the map region to include any changes made to the fields included. ) button. The System refreshes the map region to include any changes made to the fields included. |
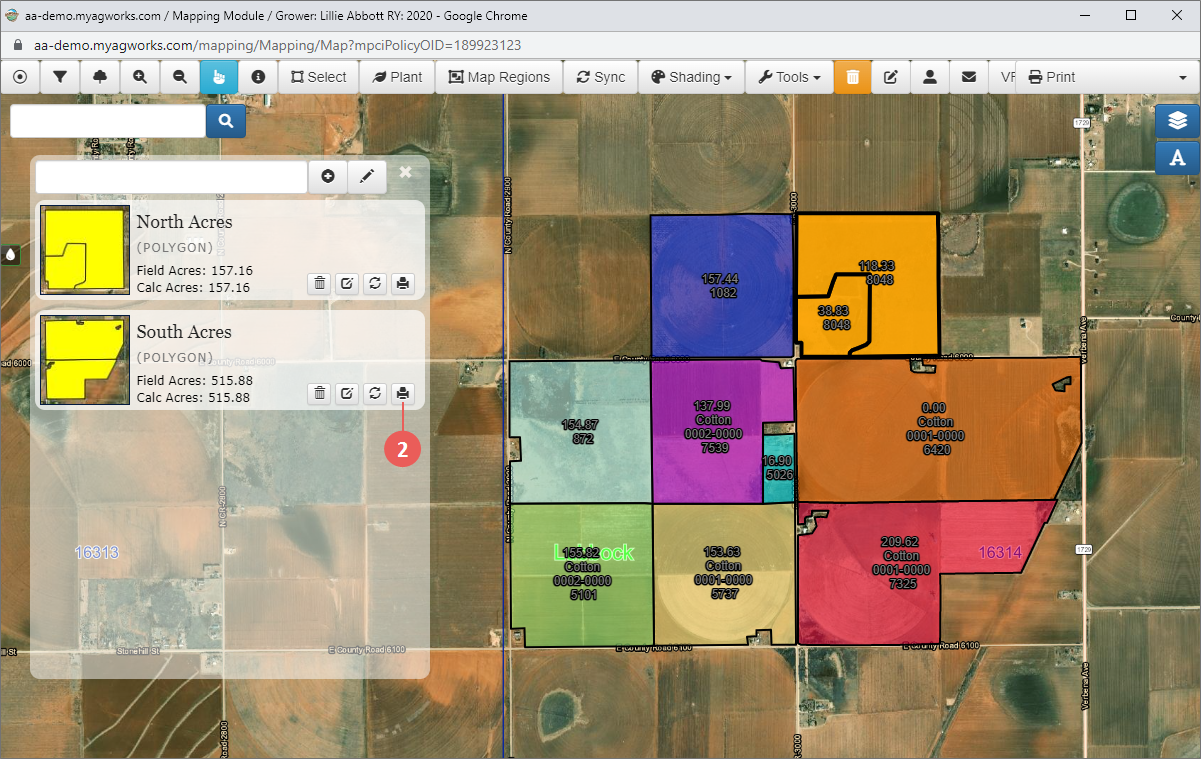
Individual Map Regions can be printed directly from the Map Regions panel. When printing, each individual Map Region is printed on a single page with a legend denoting the breakdown of each color shown on the map (this is determined by the option selected from the Shading dropdown—see "Plant, View, & Maintain Fields with Mapping").
NOTE: When printing by map region, if a field was previously printed for a page/map region, it will be excluded from the subsequent map page. This prevents acreage from being overstated if the field were to print more than once across different map pages.
| 1. | Click Map Regions. The Map Regions panel opens and displays existing map regions. |
| 2. | For the map region you want to print, click the corresponding print ( ) button. The System prints the map region to your browser window as a PDF. Follow your computer’s prompts to open or save the PDF. ) button. The System prints the map region to your browser window as a PDF. Follow your computer’s prompts to open or save the PDF. |
 ) button. The System confirms that you want to delete the map region and then removes it from the list of map regions shown.