Related
DocuSign Process
All Reinsurance Years
Overview.
All the DocuSign processes will require an electronic signature from the grower/authorized signer and the agent.
NOTE: The grower/authorized signer and the agent must have a valid email address to complete the DocuSign process.
The grower must have an accurate email address saved within the grower information under the grower tab of the policy.
The authorized signer must have an accurate email saved within their authority record. See “Add an Authorized Representative to a Policy” for help with adding an authorized representative to a policy as an authorized signer.
The agent must have an accurate email address within their agent details for the appropriate reinsurance year. The agent that will be the recipient is the agent on the policy.
Livestock Policies
Open the “Print” tab within a Livestock Policy and “Add” or “Remove” the desired Coverages for the form.
Select the “eSign” check box to display the eSign Options and view all the forms that are compatible with eSign.
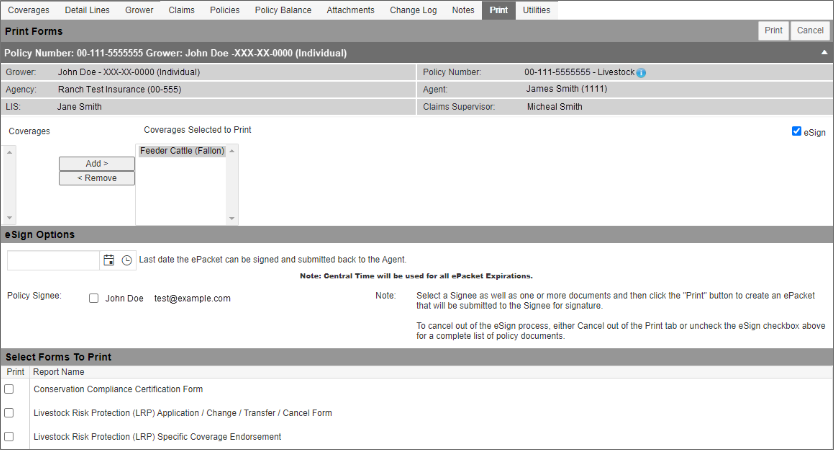
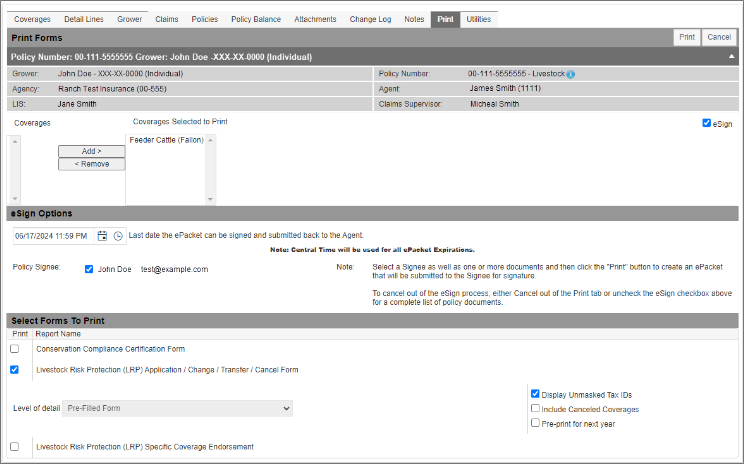
Select the desired expiration date and time for the grower/authorized signer.
Select the desired grower/authorized signer listed under Policy Signee. If a Signee does not have an email address, then the message "No email on file. Update email for eSign." will appear next to their name and will not have the ability to be selected.
Select the desired forms with the appropriate Level of Detail and options and “Print” at the top of the screen.
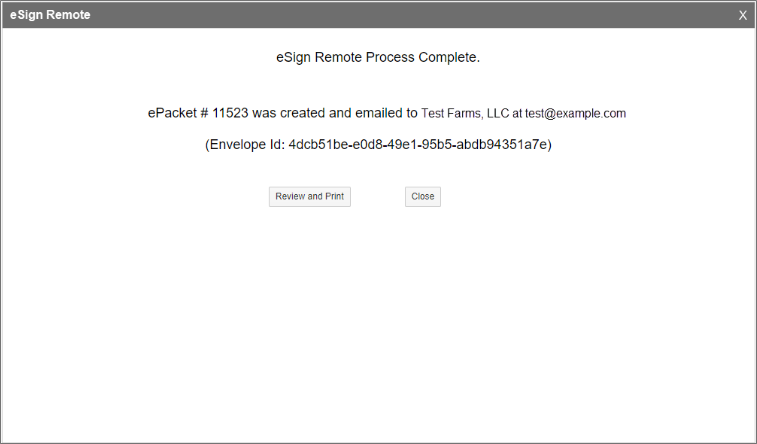
The ePacket confirmation popup will appear with the ePacket ID number that will be used on the eSignature Dashboard. The options to review the document sent or to close the popup.
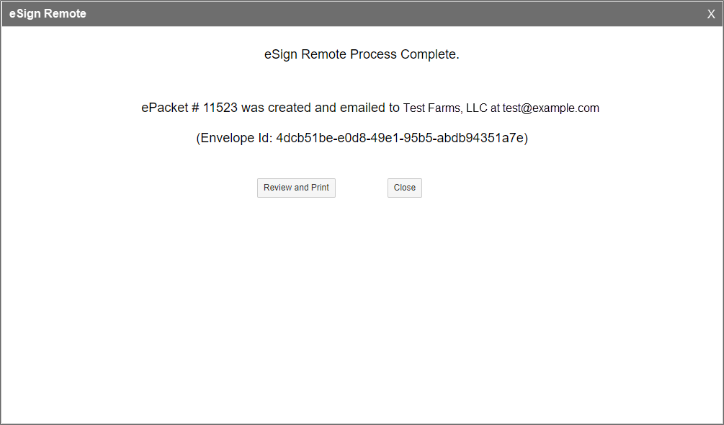
The forms will be electronically mailed via DocuSign from the AIP’s designated email address to the selected policy signee.
NOTE: The progress of the ePacket can be monitored via the eSignature Dashboard. See “eSignature Dashboard” for further information about the main interface.
MPCI Policies
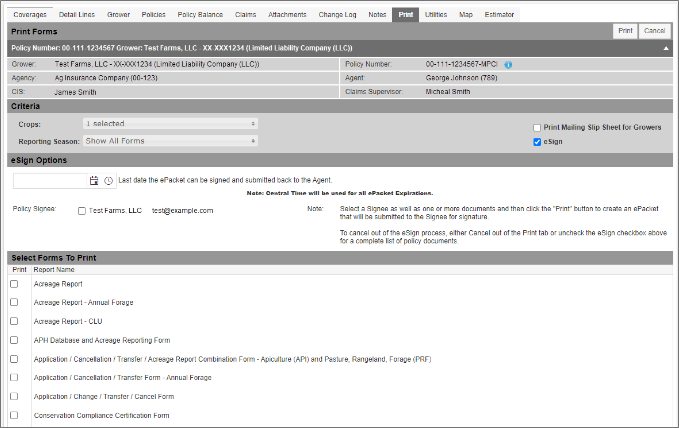
Open the “Print” tab within a MPCI Policy and select the desired Crops and/or Reporting Season under criteria.
Select the “eSign” check box to display the eSign Options and view all the forms that are compatible with eSign.
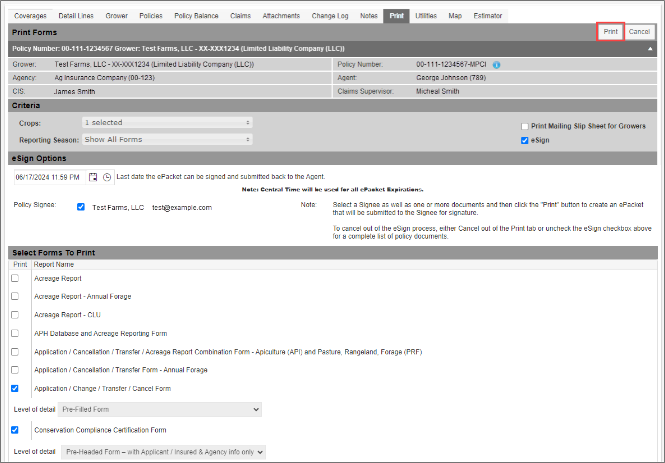
Select the desired expiration date and time for the grower/authorized signer.
Select the desired grower/authorized signer listed under Policy Signee.
Select the desired forms with the appropriate Level of Detail and options and “Print” at the top of the screen.
The ePacket confirmation popup will appear with the ePacket ID number that will be used on the eSignature Dashboard. The options to review the document sent or to close the popup.
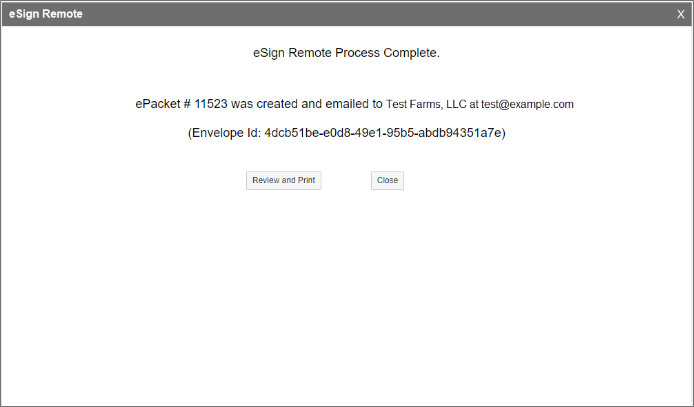
The forms will be electronically mailed via DocuSign from the AIP’s designated email address to the selected policy signee.
NOTE: The progress of the ePacket can be monitored via the eSignature Dashboard. See “eSignature Dashboard” for further information about the main interface.
Private Product Policies
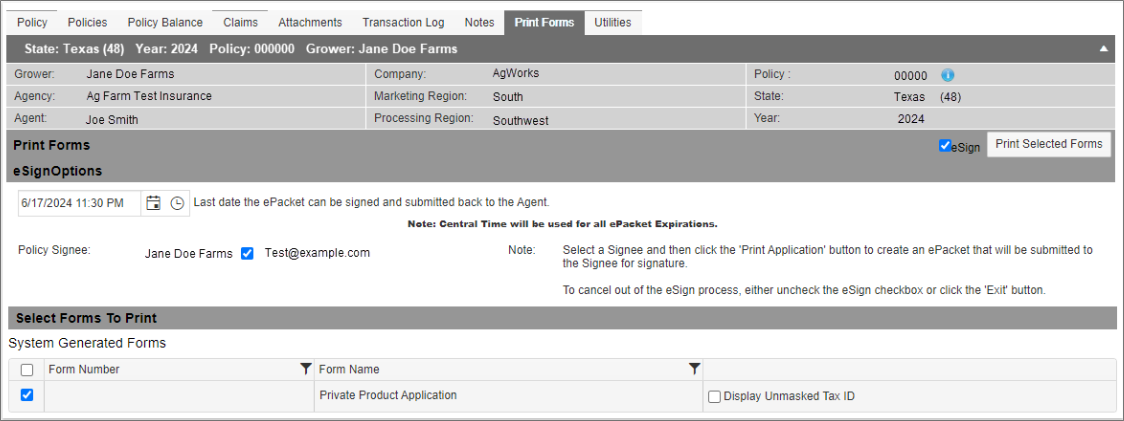
Open the “Print Forms” tab within a Private Product Policy.
Select the “eSign” check box to display the eSign Options and view all the forms that are compatible with eSign.
Select the desired expiration date and time for the grower/authorized signer.
Select the desired grower/authorized signer listed under Policy Signee.
Select the desired forms with the appropriate Level of Detail and options and “Print” at the top of the screen.
The ePacket confirmation popup will appear with the ePacket ID number that will be used on the eSignature Dashboard. The options to review the document sent or to close the popup.

Private Product Estimates
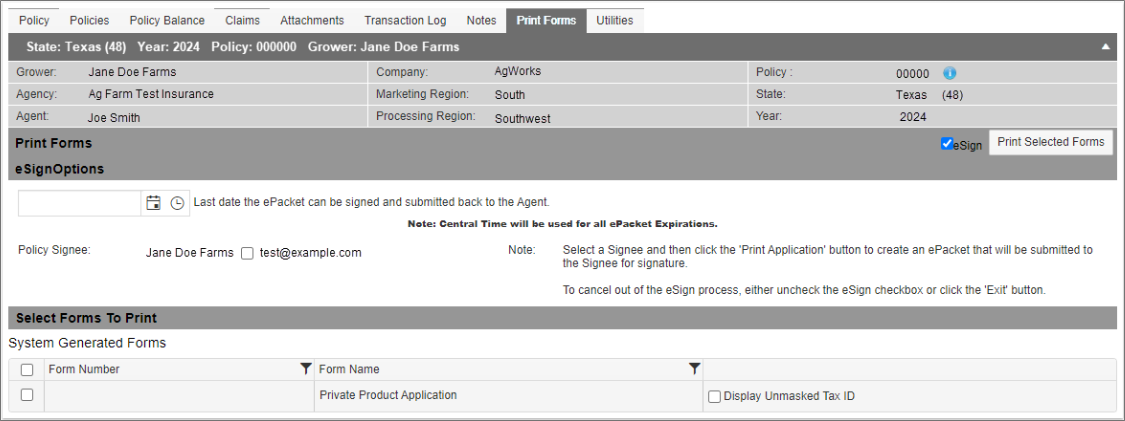
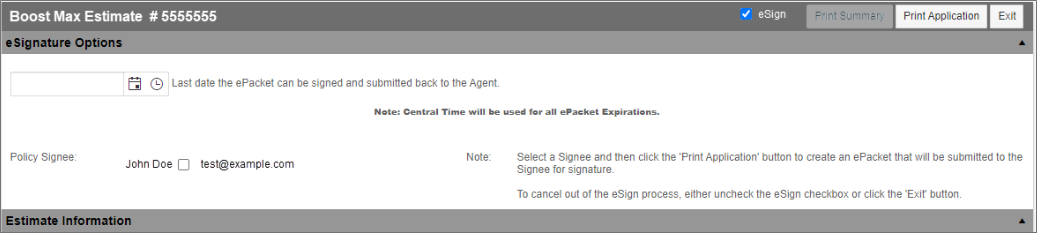
Open the Private Product Estimate page, either directly after purchase or select the desired estimate # in the Estimate Management grid.
Note: The eSign process will not work for any estimate with a quote status, therefore the estimate must be purchased before the ability to print with eSign is available.
Select the “eSign” check box to display the eSign Options.
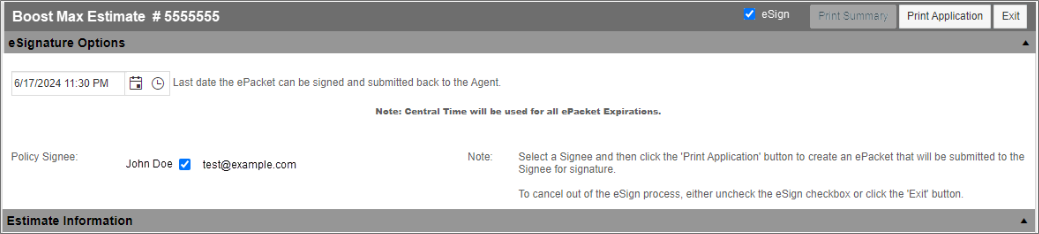
Select the desired expiration date and time for the grower/authorized signer.
Select the desired grower/authorized signer listed under Policy Signee.
Select “Print Application” at the top of the screen.
The ePacket confirmation popup will appear with the ePacket ID number that will be used on the eSignature Dashboard. The options to review the document sent or to close the popup.